


WiseCar WT3 Smart 22 kW Wandladegerät für Elektrofahrzeuge
97 auf Lager
Verfügbarkeit für Abholungen konnte nicht geladen werden
Peşin Fiyatına 3 TAKSİT
Anlaşmalı kartlarda vade farkı yok.


WiseCar WT3 Smart Card 22 kW Wandladegerät für Elektrofahrzeuge
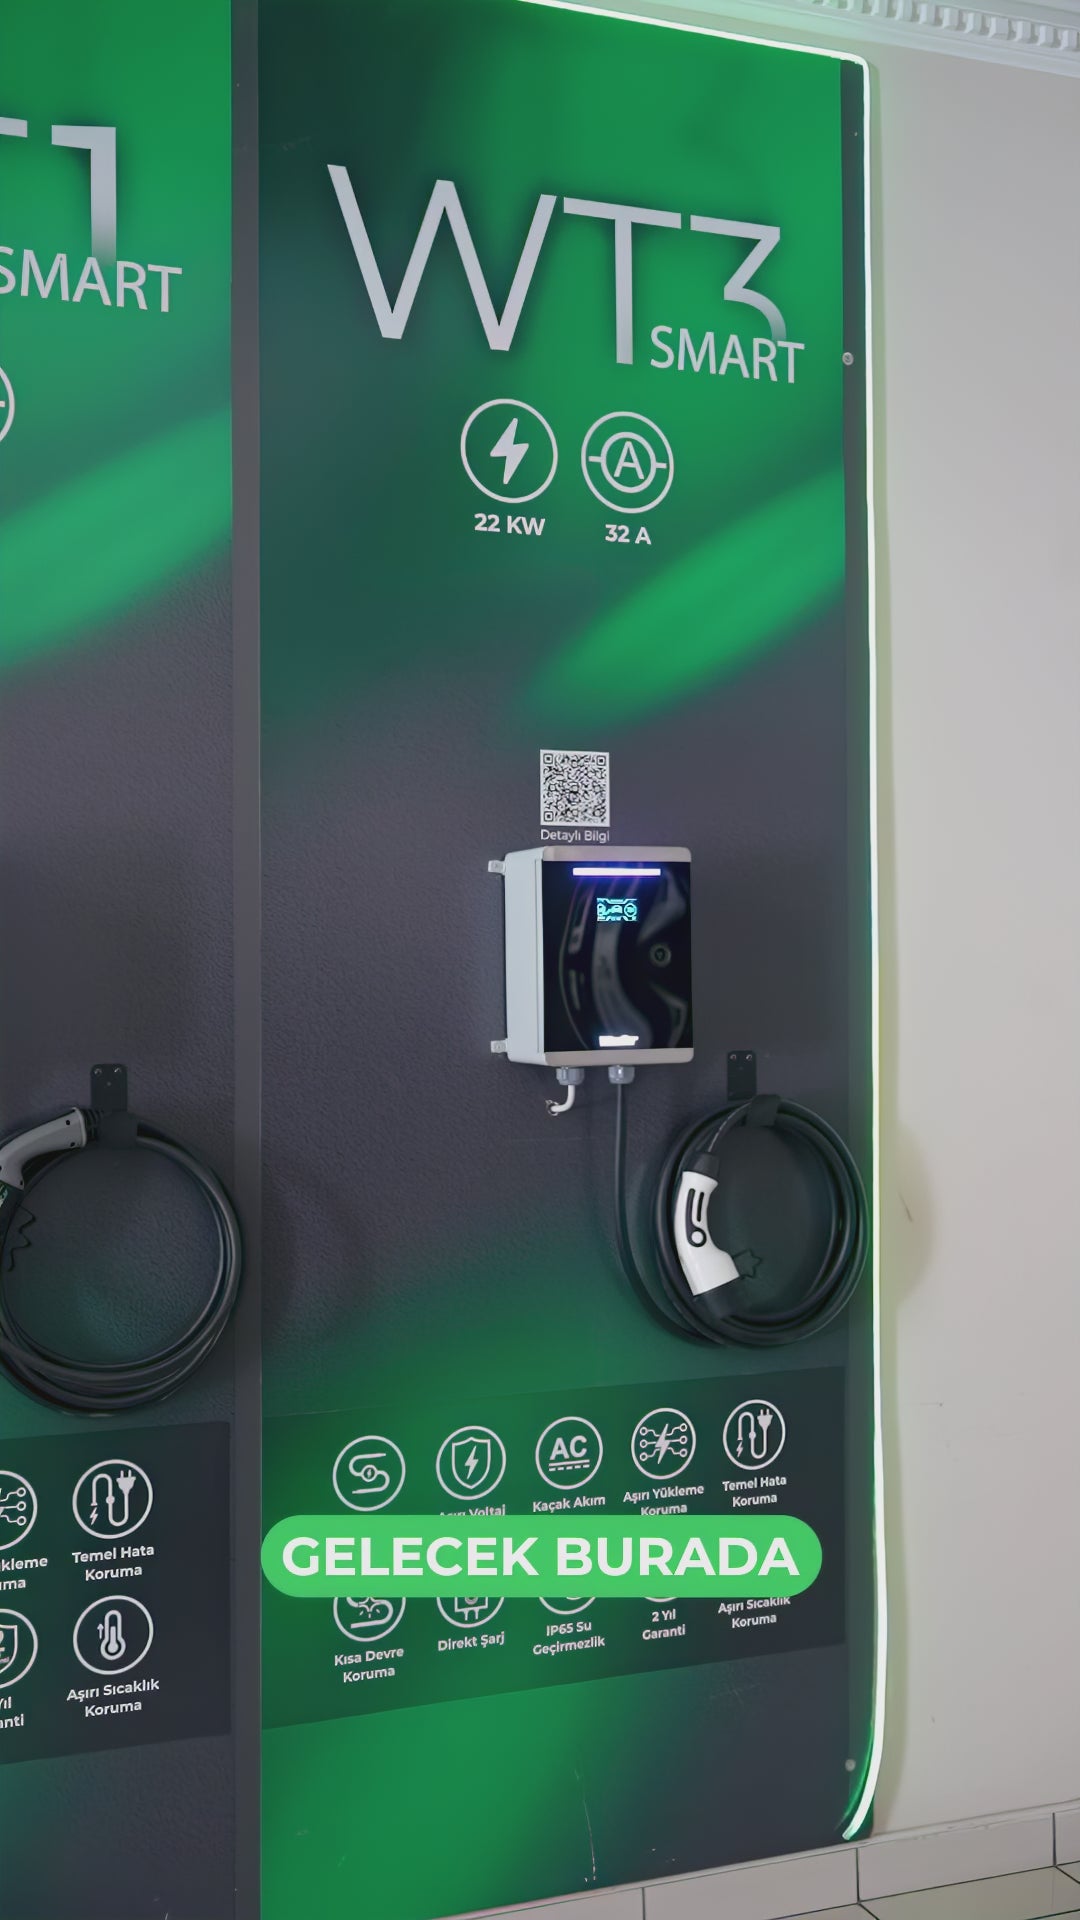
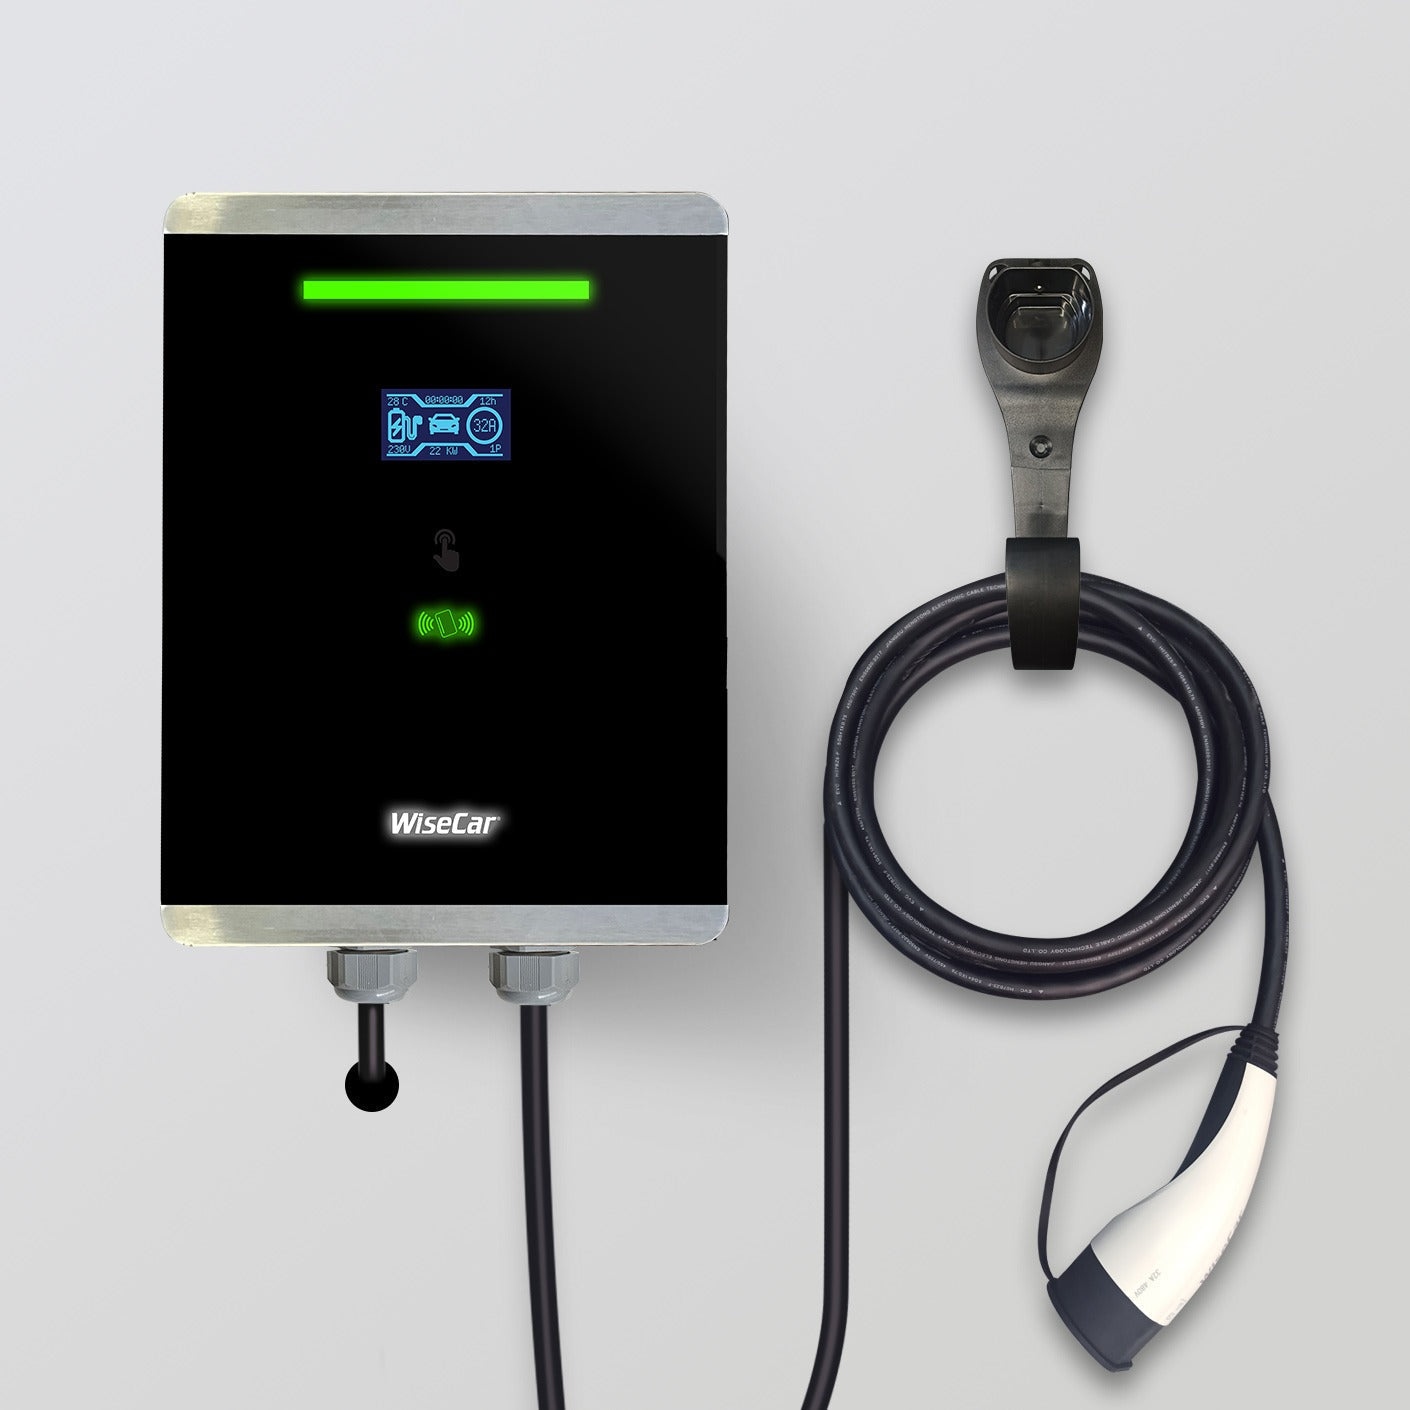
WiseCar WT3 SMART Ladegerät für Elektrofahrzeuge
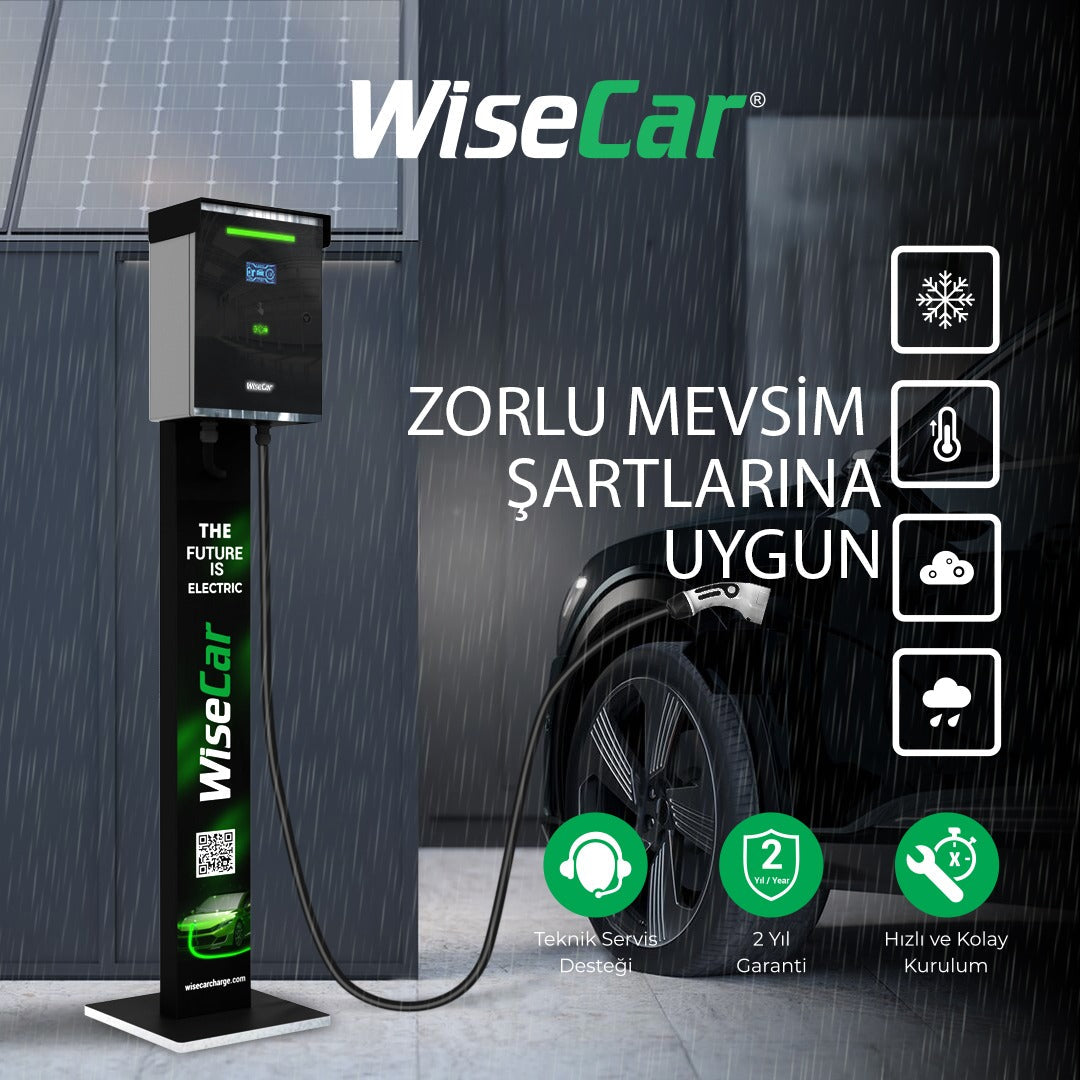
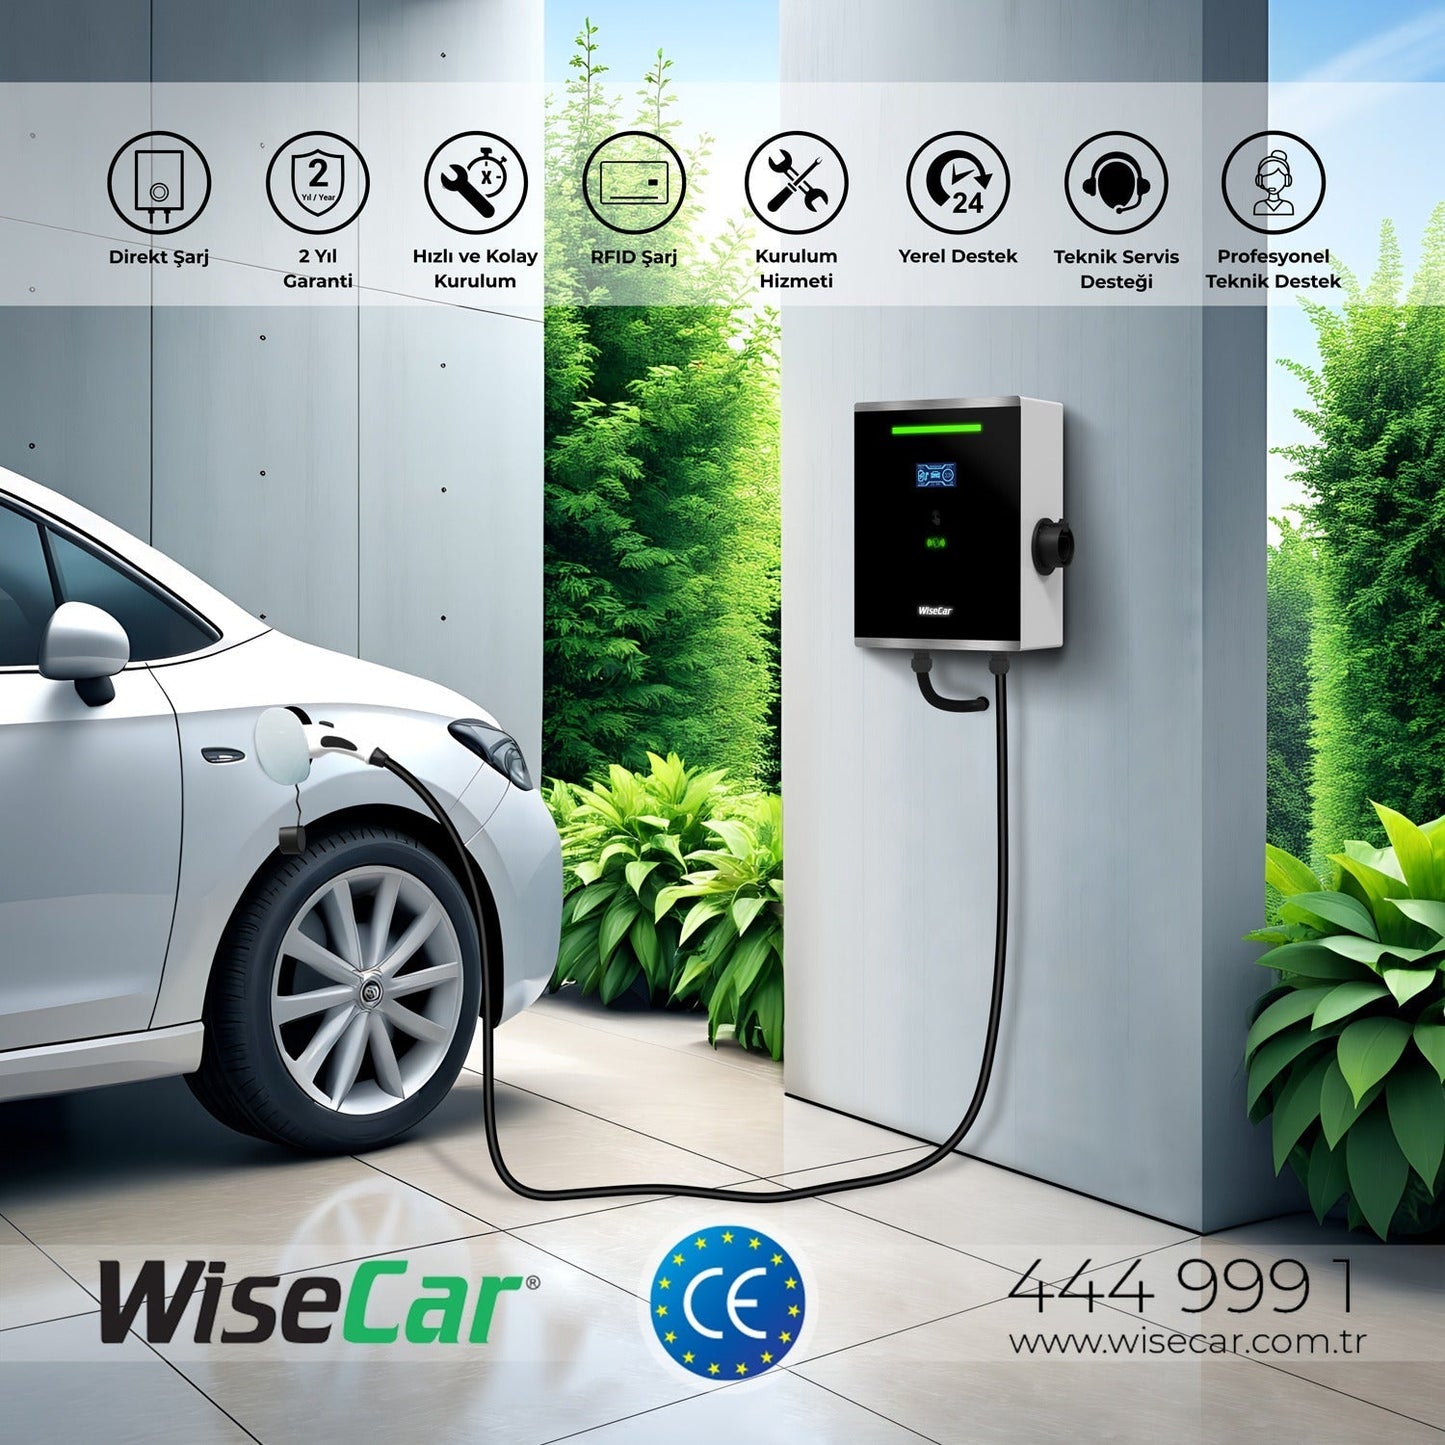
WiseCar WT3 SMART ist eine leistungsstarke und robuste Ladelösung, die speziell für die Bedürfnisse aller Besitzer von Elektrofahrzeugen entwickelt wurde. Dank IP65-Zertifizierung ist sie wasser- und staubdicht und somit bei jedem Wetter sicher einsetzbar. Mit ihrer fortschrittlichen Technologie und benutzerfreundlichen Funktionen sorgt die WT3 SMART für ein dynamisches Fahrerlebnis.
Merkmale:
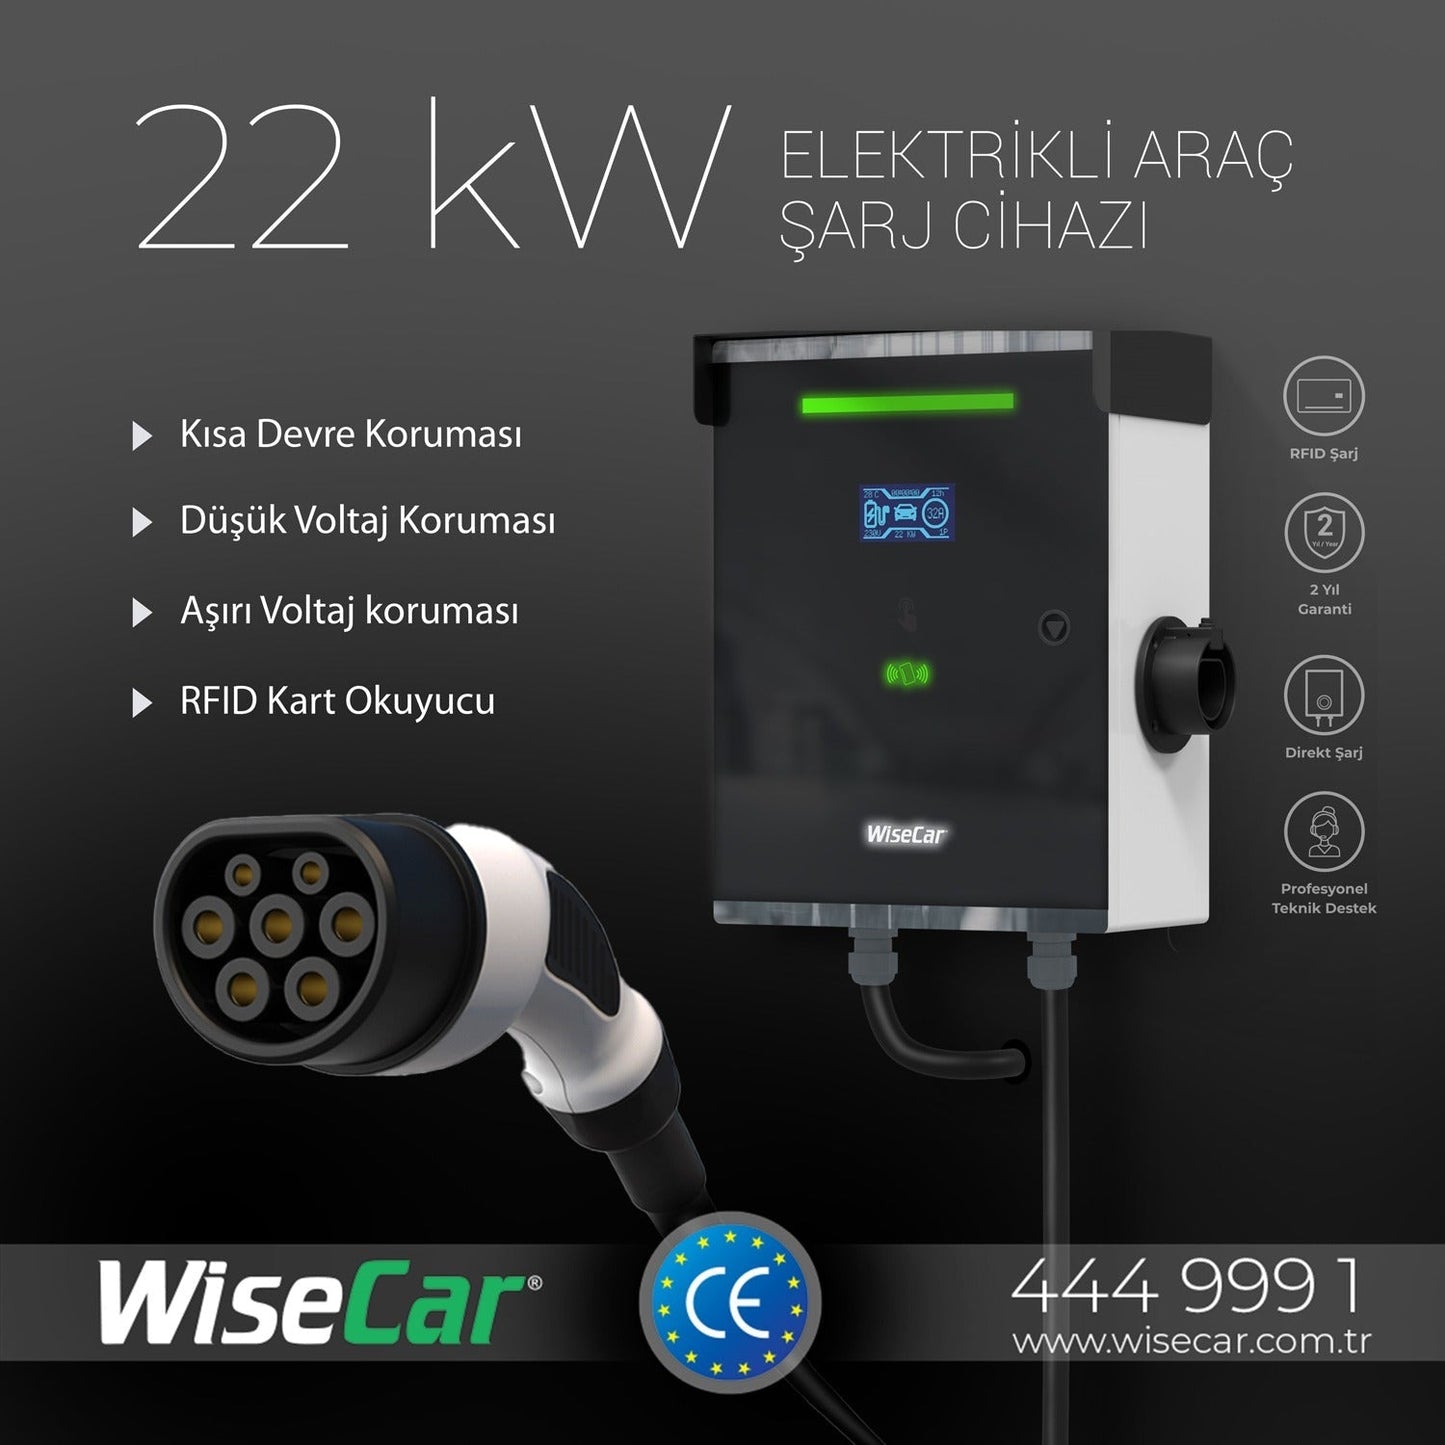
• Wasser- und staubbeständig: Dank der IP65-Zertifizierung bietet es auch unter widrigen Wetterbedingungen maximale Leistung.
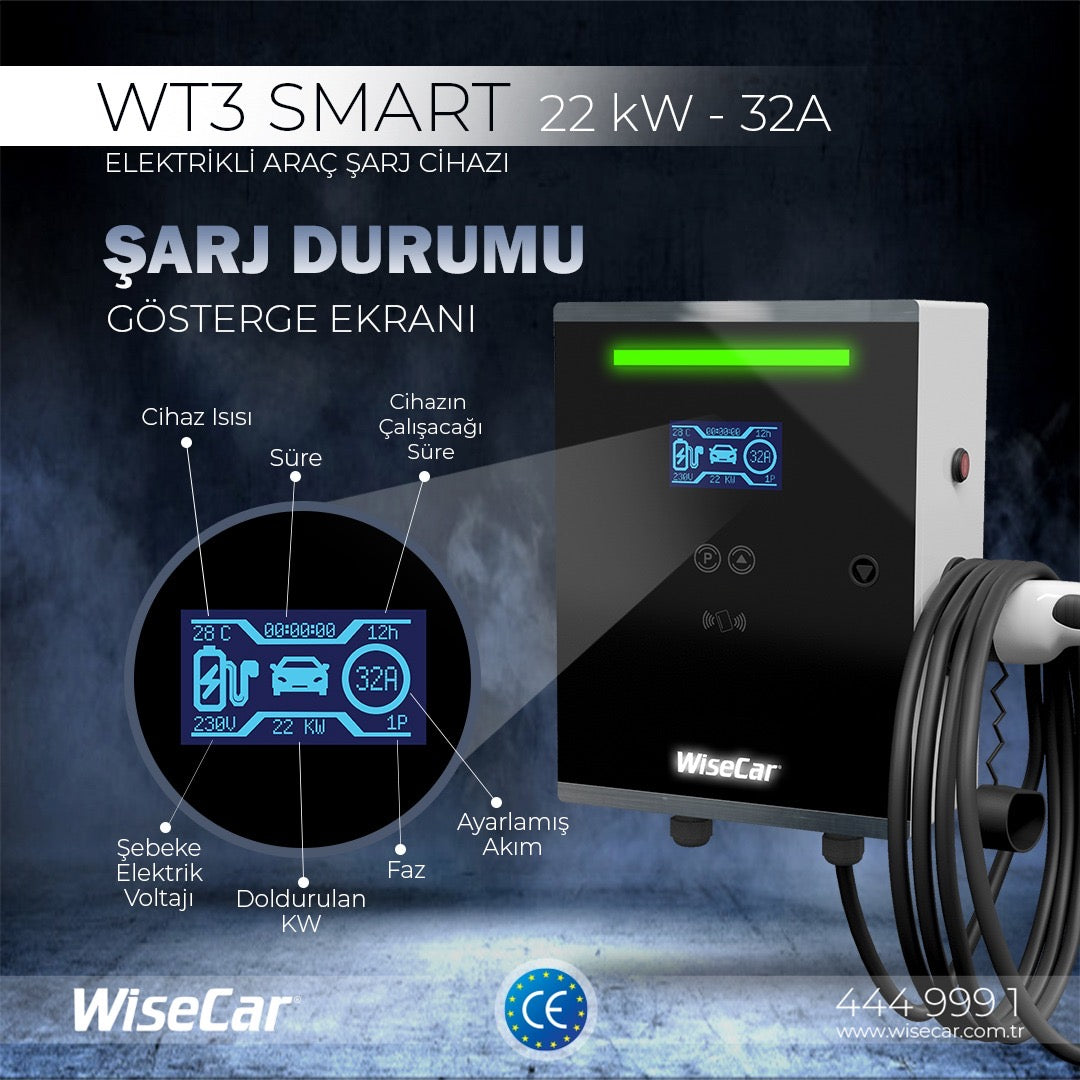
• Display: Ein praktisches Display, auf dem Sie den Akkustand und andere wichtige Informationen sofort ablesen können.
• Kartenleser: Einfaches und schnelles Starten des Ladevorgangs mit den 2 im Lieferumfang enthaltenen Karten.
• International CE-zertifiziert: Zuverlässige und hochwertige Konstruktion gemäß europäischen Normen.
• Sämtliches Installationszubehör enthalten: Alle für die Installation notwendigen Zubehörteile sind im Lieferumfang enthalten.
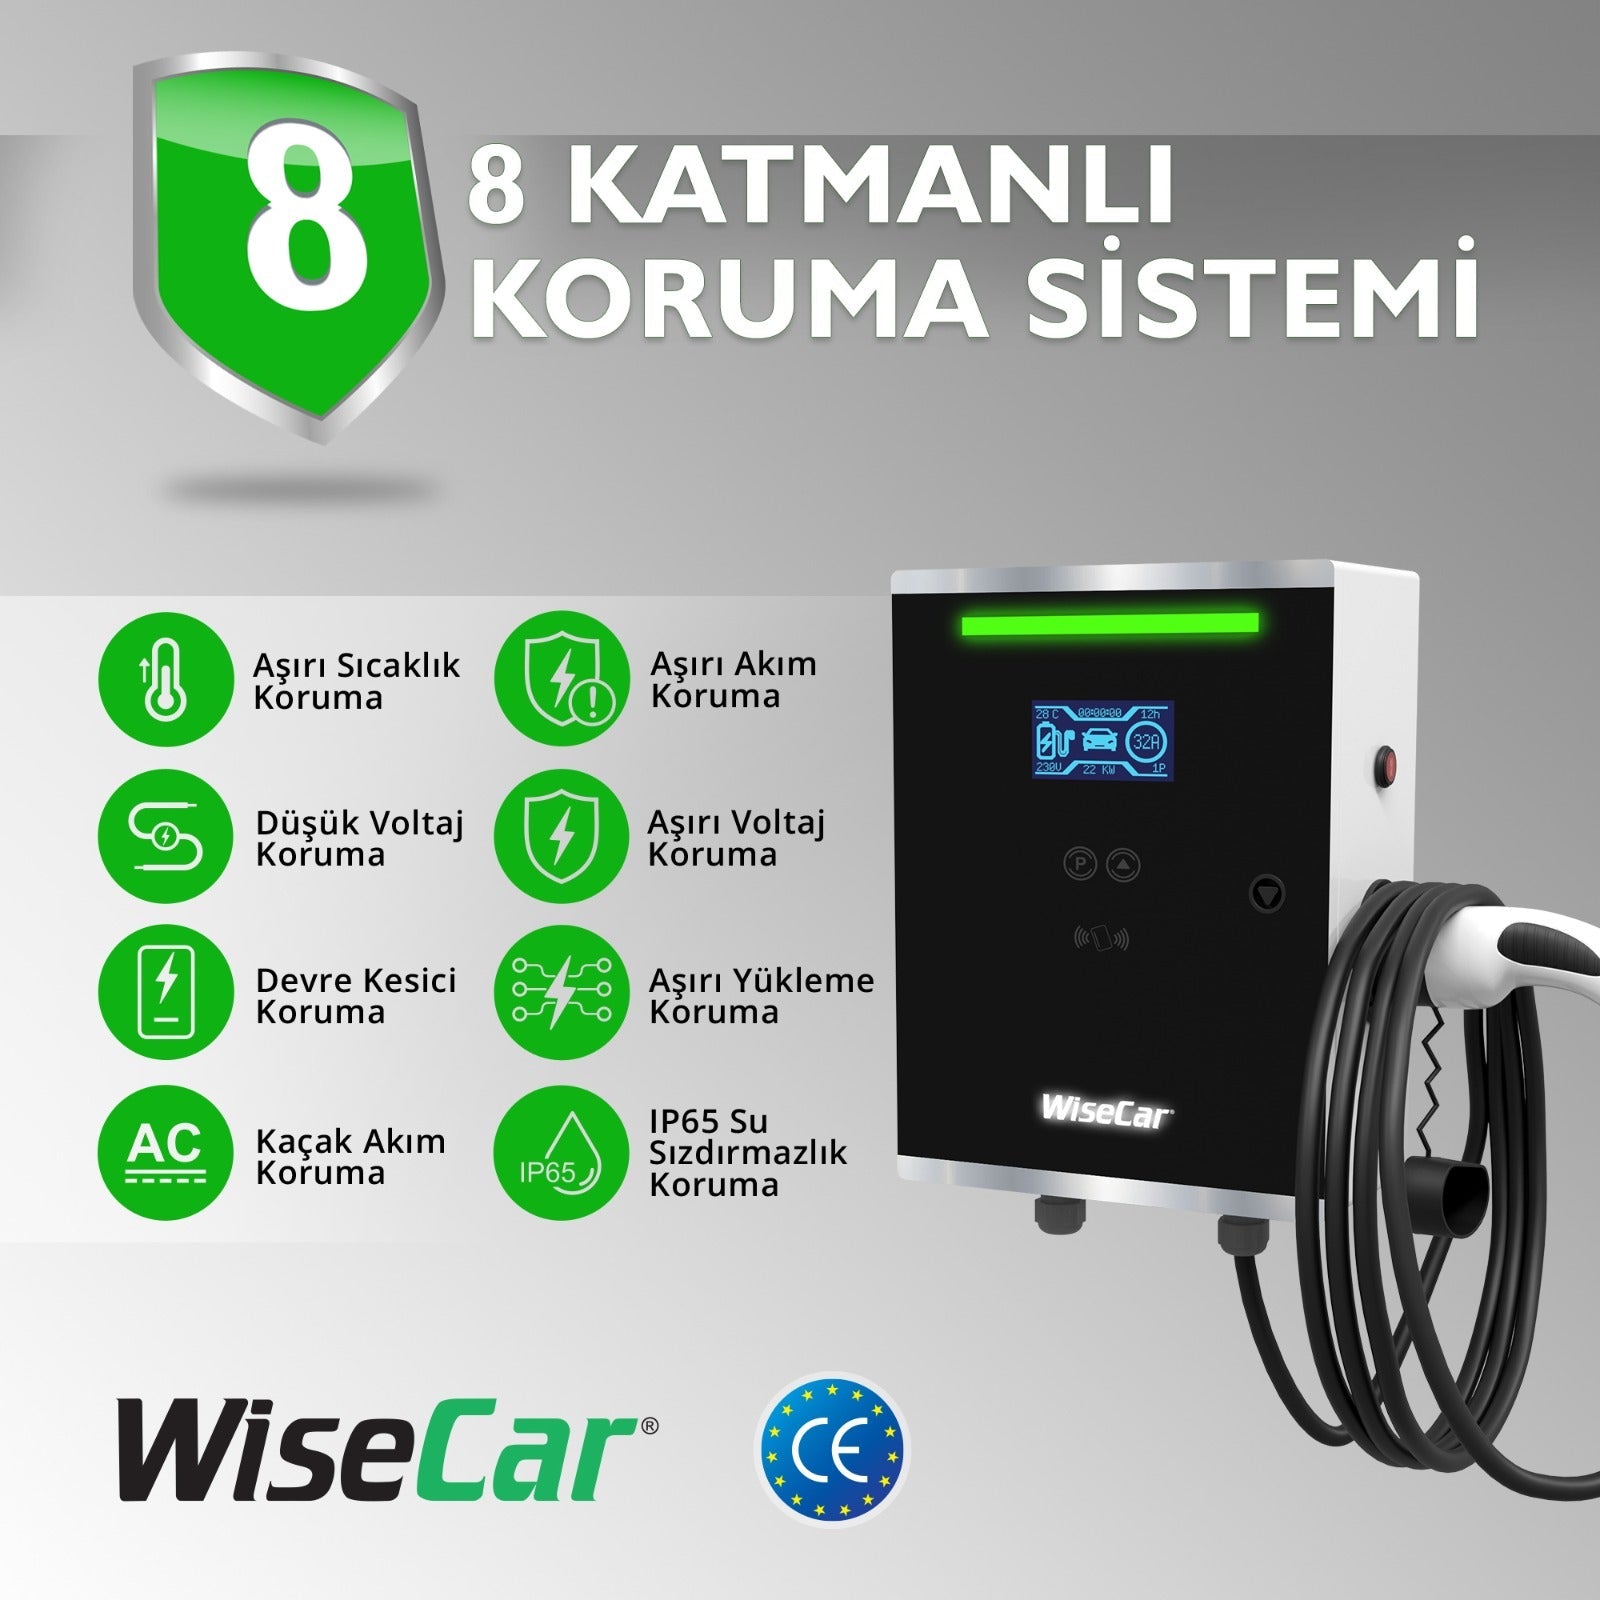
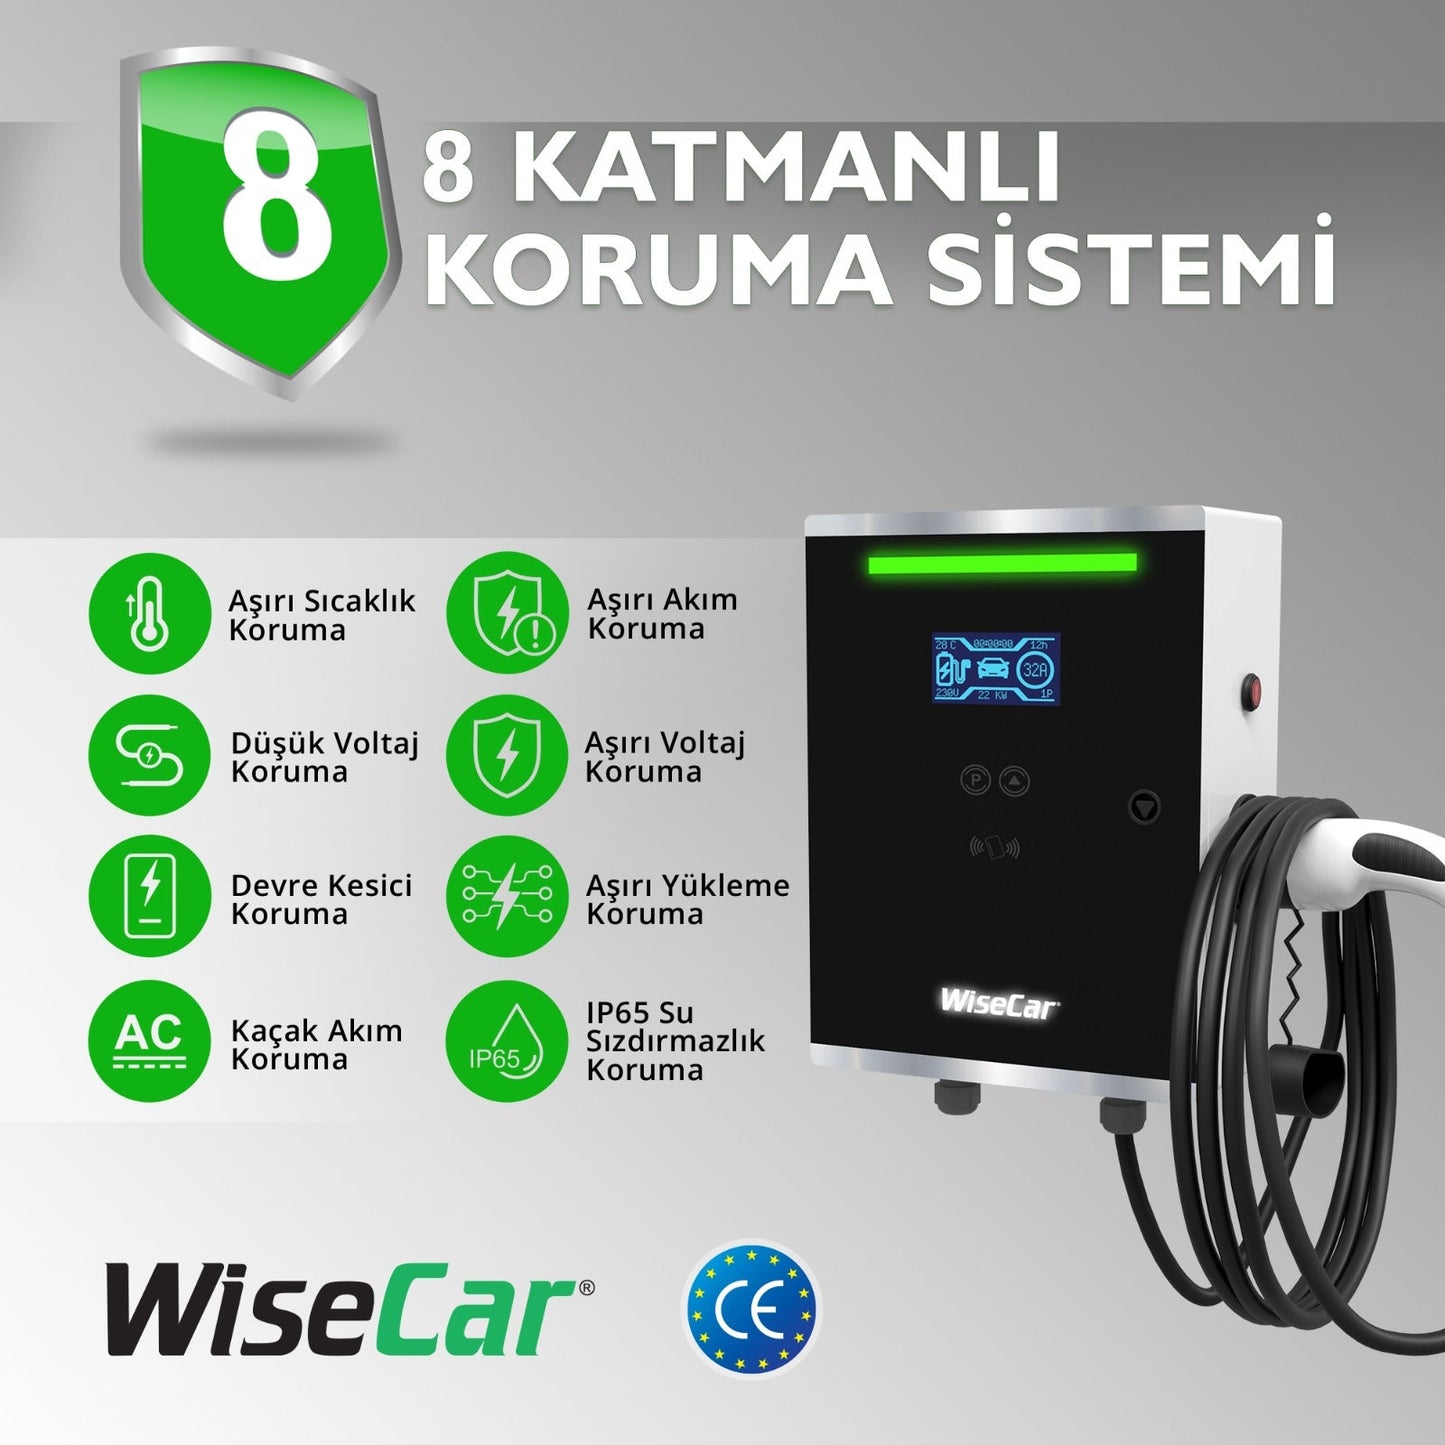
🔒 8-lagiges intelligentes Schutzsystem – Bei allen WiseCar-Produkten
Die Ladegeräte von WiseCar sind nicht nur für schnelles und effizientes Laden, sondern auch für maximale Sicherheit ausgelegt. Dank unseres 8-stufigen Schutzsystems, das bei all unseren Produkten Standard ist, schützen wir Ihr Fahrzeug und Sie unter allen Bedingungen.
🌡️ Überhitzungsschutz – Überwacht kontinuierlich die Temperatur des Geräts und verhindert eine Überhitzung.
⚡ Überstromschutz – Verhindert übermäßige Stromaufnahme.
🔋 Unterspannungsschutz – Gewährleistet sicheren Betrieb bei Stromspitzen.
🔌 Überspannungsschutz – Schützt Ihr Gerät und Ihr Fahrzeug vor plötzlichen Spannungsspitzen.
🛡️ Schutzschalter – Deaktiviert das System sofort bei unerwarteten Störungen.
🔄 Überlastungsschutz – Verhindert Schäden an der Batterie Ihres Fahrzeugs.
🌊 IP65 Wasserdichtigkeitsschutz – Beständig gegen Regen und Spritzwasser für den Außeneinsatz.
⚙️ Ableitstromschutz – Bietet vollständigen Schutz vor elektrischen Leckströmen.
Mit WiseCar kaufen Sie nicht nur eine Ladelösung, sondern auch Zuverlässigkeit, Qualität und Langlebigkeit .
Lieferumfang:
• Ladegerät (mit 5 Meter Kabel): Dank des flexiblen und langen Kabels besonders komfortabel in der Anwendung.
• Benutzer- und Installationshandbuch: Schrittweise Installations- und Bedienungsanleitung.
• Wandhalterungen: Das notwendige Zubehör zur Wandmontage des Geräts.
• Fehlerstromschutzschalter (FI-Schalter): Sicherer Betrieb dank des im Gerät integrierten Fehlerstromschutzschalters (FI-Schalter).
• Garantiezertifikat: 2 Jahre Garantie mit WiseCar-Garantie.
• Geschenk Auto-Lufterfrischer: Ein angenehmer Duft für Ihr Auto.
• Preise ohne Installation: Die Installation wird separat berechnet.
Kompatibilität und Support:
• Geeignet für alle Elektrofahrzeuge: Kompatibel mit allen Marken und Modellen von Elektrofahrzeugen.
• WiseCar Service und Garantie: Mit unserem Callcenter-Service sind wir bei jedem Schritt für Sie da.
Kommunikation:
• Telefon: 444 999 1
Erleben Sie Ladekomfort auf einem neuen Niveau mit WiseCar WT3 SMART. Jetzt bestellen und entspannt fahren!
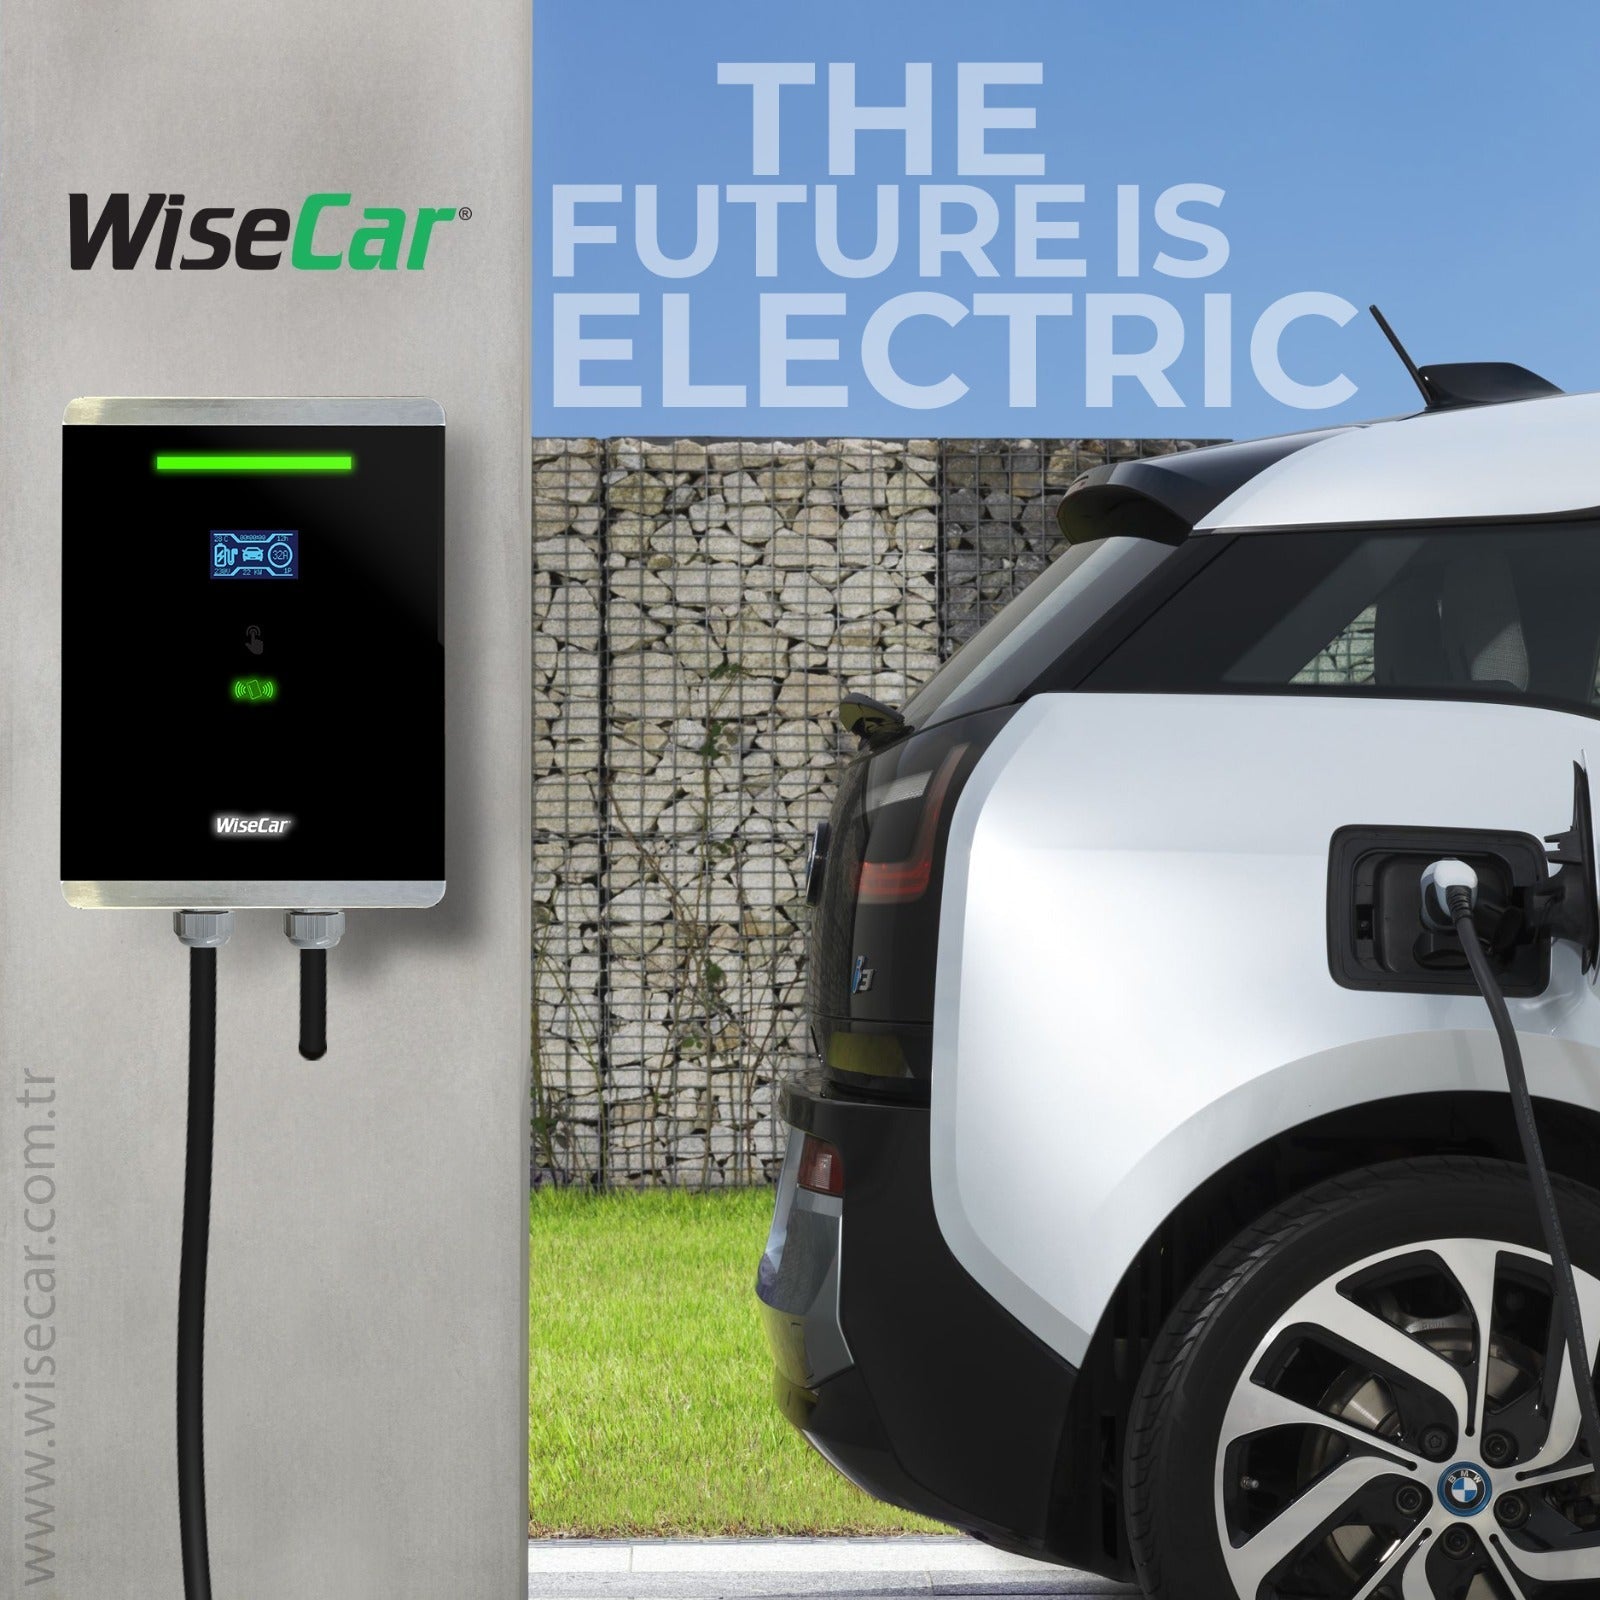
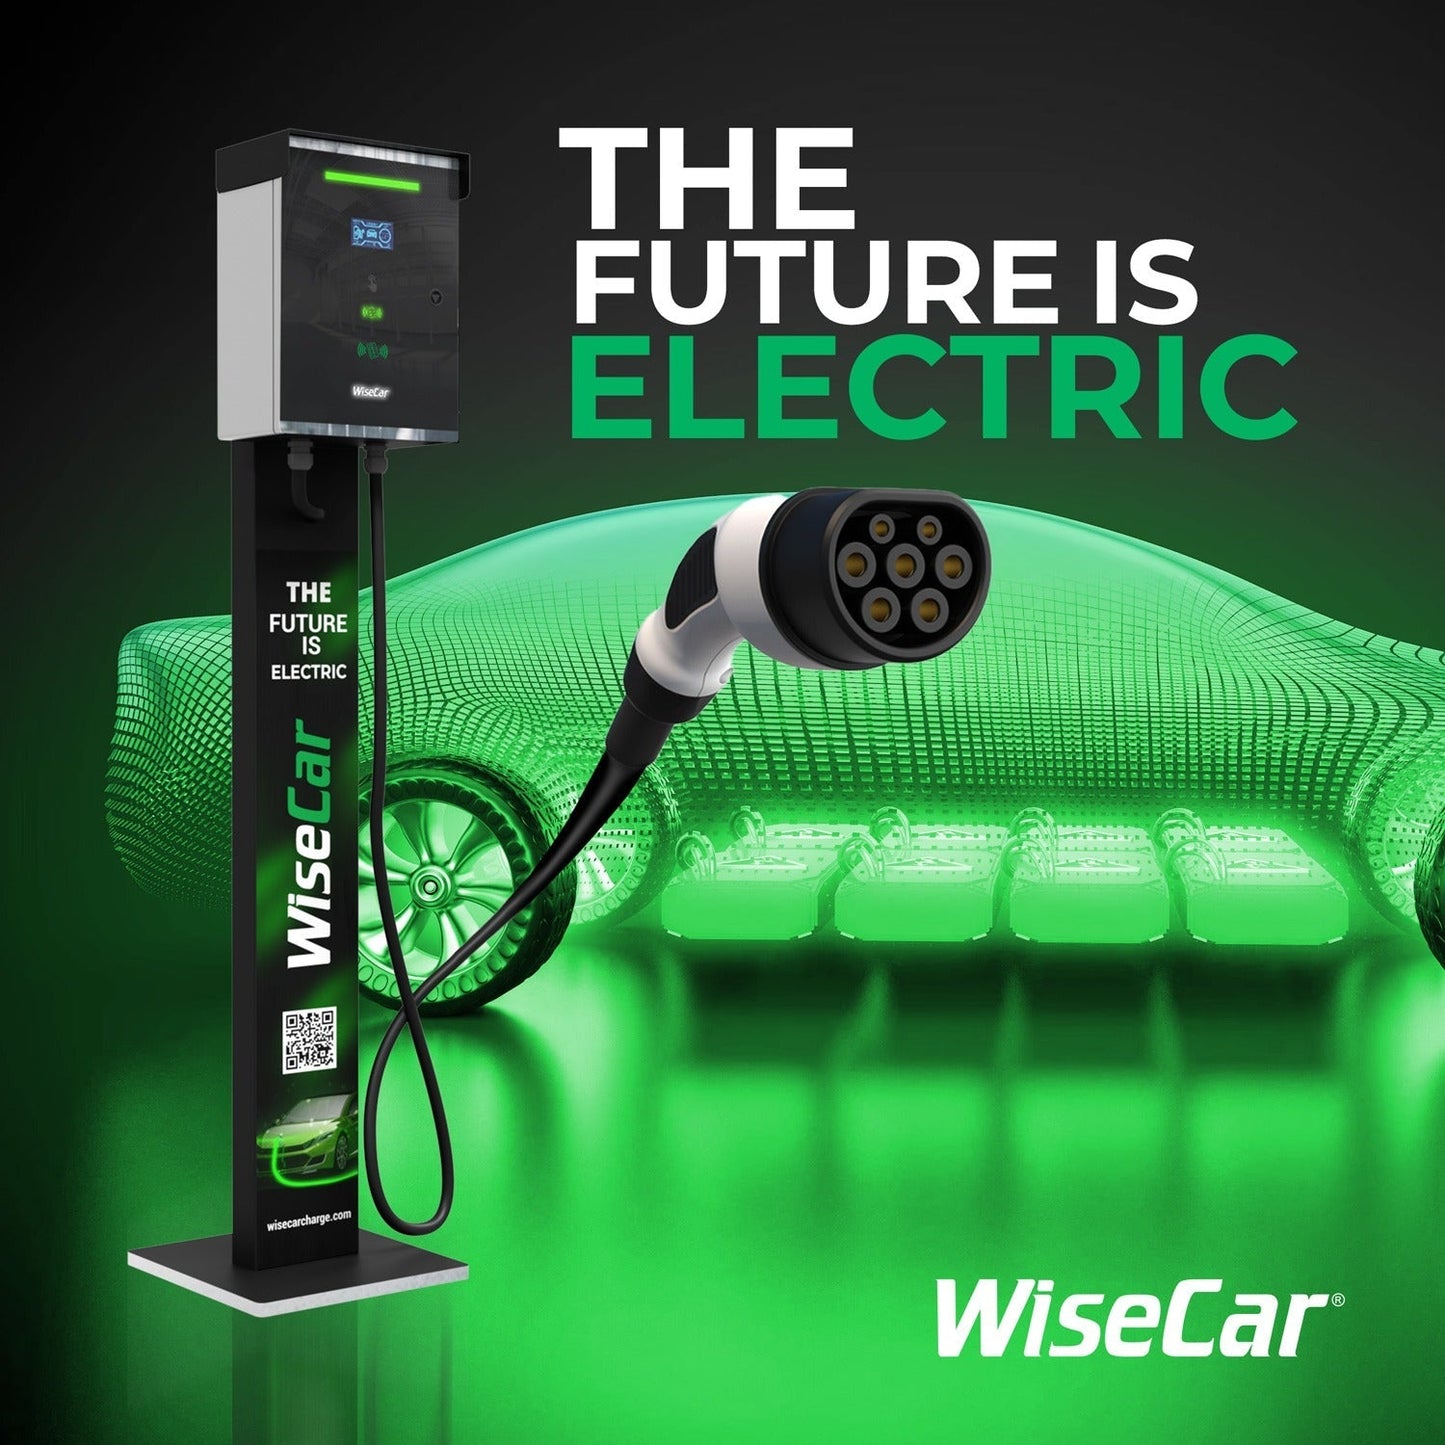
Schnelles und sicheres Ladeerlebnis
Der WiseCar WT3 mit seiner Ladeleistung von 22 kW bietet ein schnelles und sicheres Ladeerlebnis für Elektrofahrzeuge. Besitzer von Elektrofahrzeugen können ihre Fahrzeuge mit diesem Gerät in kürzester Zeit vollständig aufladen. Dank des Smartcard-Systems können nur autorisierte Benutzer Ladevorgänge durchführen, was die Sicherheit des Geräts erhöht. Durch die hohe Energieeffizienz können Sie zudem Ihre Stromkosten senken.
Platzsparend dank Wandmontage
Dieses Ladegerät besticht durch sein wandmontiertes Design. Es ist die ideale Lösung für alle, die Platz sparen möchten, insbesondere in Garagen oder auf Parkplätzen mit begrenztem Raumangebot. Die Wandmontage ist kinderleicht und das moderne Design fügt sich harmonisch in jede Inneneinrichtung ein. So genießen Sie auch beim Laden Ihres Autos ein ästhetisch ansprechendes Ambiente.
Intelligente und benutzerfreundliche Funktionen
Das WiseCar WT3 ist ein Ladegerät für Elektrofahrzeuge, das dank seiner benutzerfreundlichen Oberfläche einfach zu bedienen ist. Die LED-Anzeigen informieren Sie übersichtlich über den Ladestatus. Dank der zugehörigen App können Sie den Ladevorgang zudem fernüberwachen und steuern. So behalten Sie jederzeit den Überblick und können die Ladevorgänge optimal verwalten.


Electric Vehicle Charging Station Installation Guide

Set up your charger easily with WiseCar. Guidance up to 100 meters is here!
- Required Materials: WiseCar Charger, copper cable, fuse box.
- Power Control: 40A fuse for 7.4 kW, 40A fuse for 22 kW.
Our recommendations for the correct cable cross-section:
| Strength | Distance | Cable Cross-Section | Notes |
|---|---|---|---|
| 7.4 kW (Single Phase) | 0-20 m | 3x6 mm² | Standard |
| 7.4 kW | 20-50 m | 3x10 mm² | Middle range |
| 7.4 kW | 50-100 m | 3x16 mm² | Long distance |
| 22 kW (Three Phase) | 0-25 m | 5x6 mm² | Standard |
| 22 kW | 25-50 m | 5x10 mm² | Middle range |
| 22 kW | 50-100 m | 5x16 mm² | Long distance |
Cable Calculation Tool
- Mark the wall mounting plate.
- Drill holes and insert the dowels.
- Secure the device.
Warning: Must be performed by a qualified electrician!
Connect the cables to the terminal blocks (L1, L2, L3, N, PE).
- Check the connections.
- Perform a test charge.
1. Keep away from children.
Use cable trays for distances of 2-100 meters.
3- During the installation and use of the device, avoid contact with sunlight. Otherwise, the device will activate its protection system due to overheating.
4. For safety reasons, the power supply to the device must be switched off when it is not in use.


-
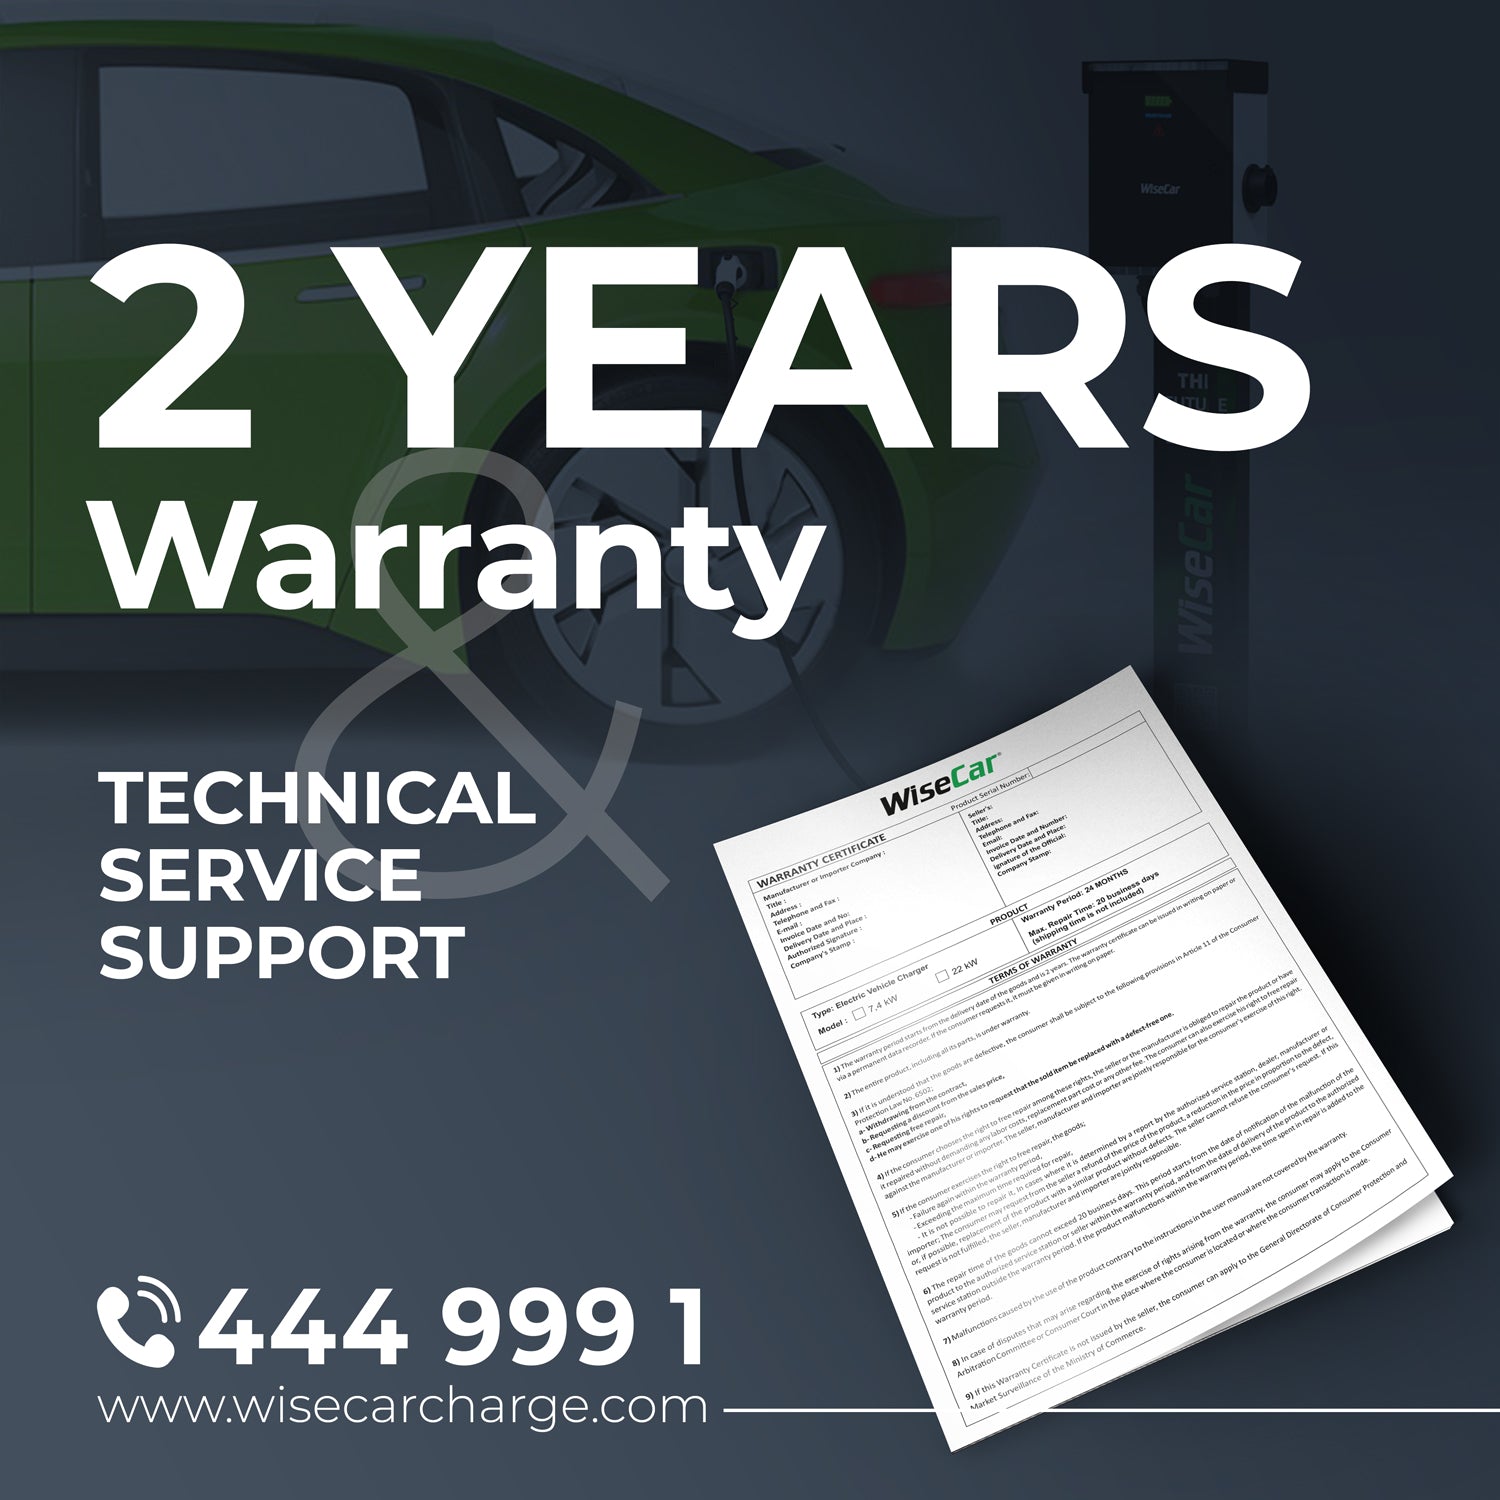
2 Jahre Garantie und technischer Service
Gemeinsam mit unserem Expertenteam bieten wir Ihnen 2 Jahre Garantie und schnellen technischen Service auf WiseCar-Produkte.
-
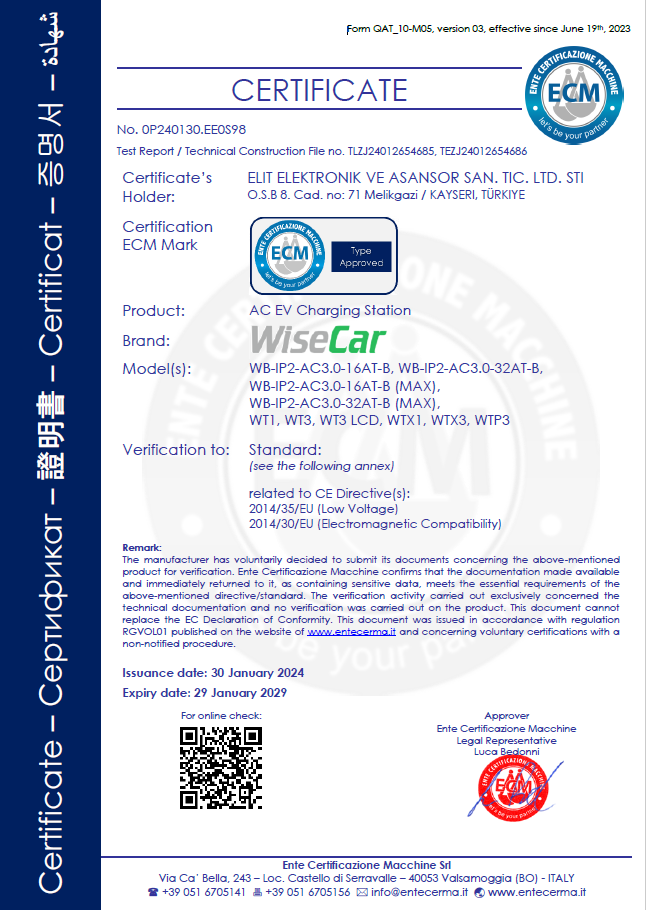
Internationales CE-Zertifikat
Als WiseCar verfügen alle unsere Produkte über ein internationales CE-Zertifikat.
-
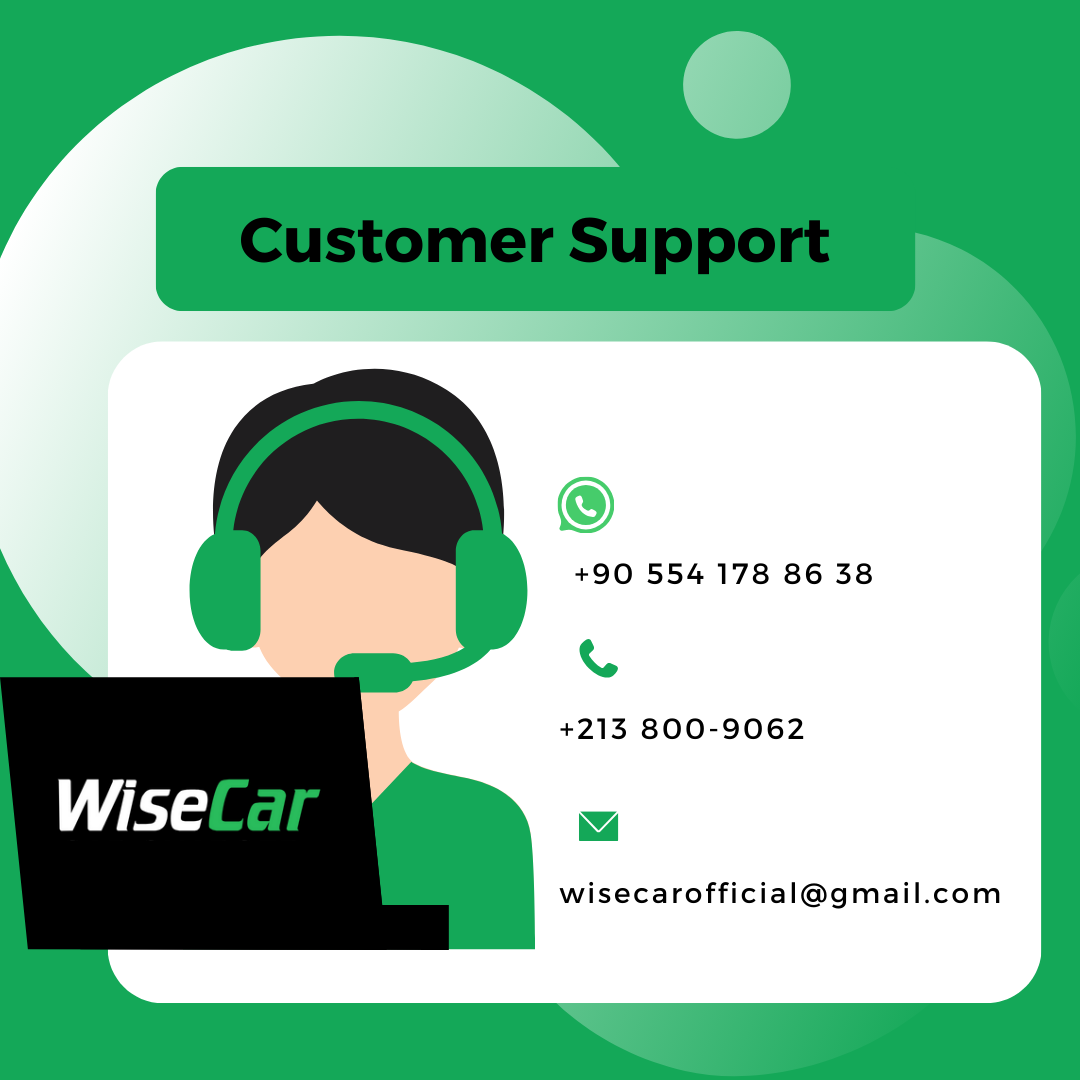
WhatsApp-Support-Hotline
Sie können uns rund um die Uhr per Whatsapp schreiben. Wir sind für Ihre Fragen da!


